5 MYSTERY GIFTS


Description
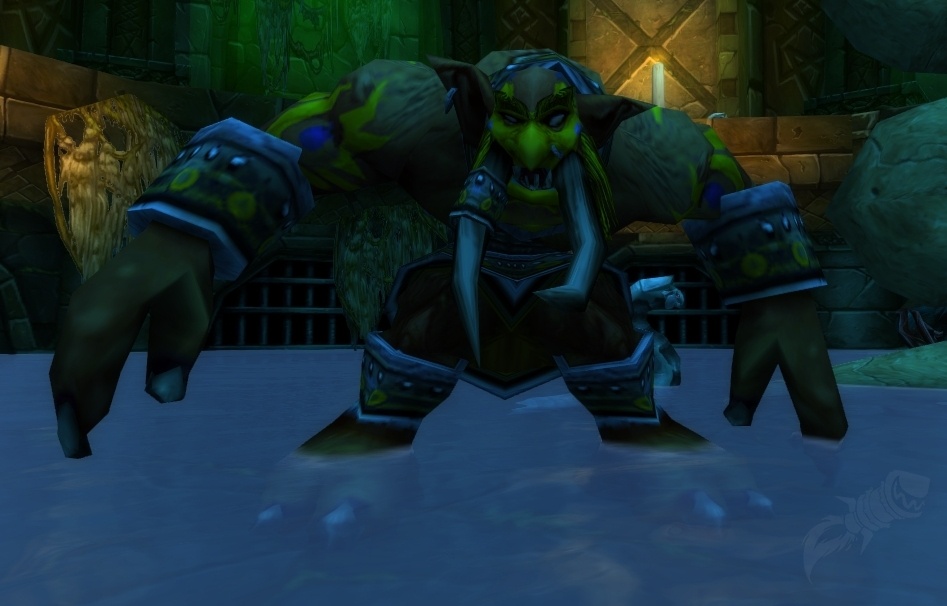
Atal'alarion is the first boss you'll encounter in the Sunken Temple. He serves as the sworn protector of the idol located on the lowest level of the temple.
Atal'alarion's Primary Abilities
1. ![]() Pillars of Power: Atal'alarion slams the ground, dealing minor AoE damage and creating pillars around the boss arena.
Pillars of Power: Atal'alarion slams the ground, dealing minor AoE damage and creating pillars around the boss arena.
2. ![]() Pillars of Power (Buff): These pillars provide a stacking 5% damage buff, increasing by 1 stack for each currently standing pillar.
Pillars of Power (Buff): These pillars provide a stacking 5% damage buff, increasing by 1 stack for each currently standing pillar.
3. ![]() Devastating Slam: Atal'alarion deals massive AoE damage and knocks players back with this attack.
Devastating Slam: Atal'alarion deals massive AoE damage and knocks players back with this attack.
Strategy
Atal'alarion features three main abilities.
The primary threat revolves around the 'Pillars of Power' stacking 5% damage buff. To counter this, players should utilize 'Devastating Slam' to be knocked back into the pillars, destroying them and reducing the stacking damage buff. Spreading out around the boss minimizes movement required to destroy each pillar.
Apart from managing the pillars, the encounter simplifies to a standard tank-and-spank approach.
Tips on Atal'alarion
Tips for Tanks :
- Optimize for high damage output if pillars aren't destroyed properly.
- Position yourself between the boss and a pillar near the center back wall to centralize the boss, maximizing raid damage uptime.
Tips for Melee on Atal'alarion:
- Stand between the boss and pillars during 'Devastating Slam,' selecting a nearby pillar to minimize movement.
- Exercise caution returning to the boss after knock-back to avoid pulling threat prematurely, potentially resulting in death if the boss is buffed.
Tips for Ranged on Atal'alarion:
- Spread out to cover the arena, reducing overall movement to destroy all pillars efficiently.
- Position centrally relative to your chosen pillar to avoid movement obstruction during knock-backs, optimizing uptime.
Tips for Healers on Atal'alarion:
- Adjust positioning based on healer count:
- With fewer healers, stand centrally and select central pillars to ensure range coverage after knock-back.
- With more healers, spread out with ranged, allowing easier pillar coverage and less communication reliance.