WoW Dragonflight Neltharus Dungeon Guide

Neltharus Dungeon Guide
Welcome to Neltharus, a challenging level 70 Dragonflight dungeon nestled in the western reaches of Orillas del Despertar. Whether you're delving into its depths on Normal, Heroic, or Mythic difficulty, or braving the trials of Mythic+ in Season 2, our comprehensive guide is here to aid you in conquering every obstacle this dungeon presents.
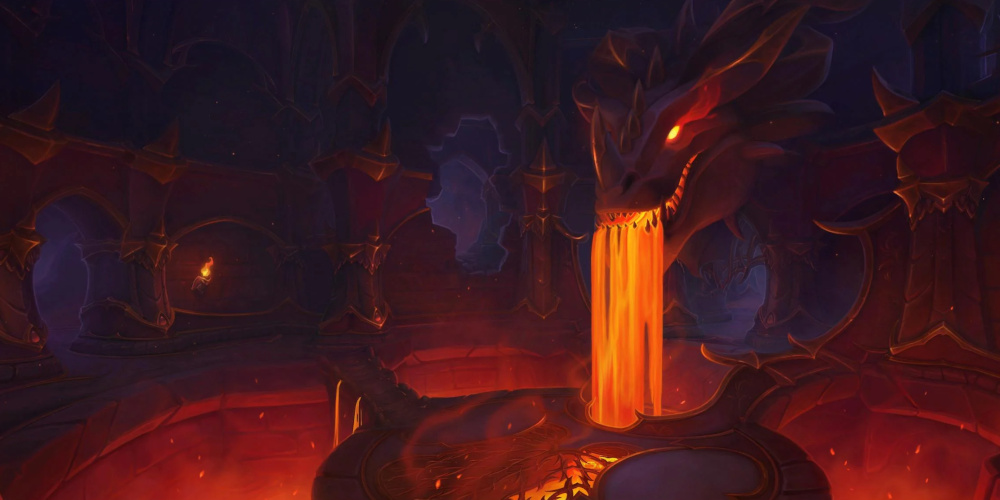
Neltharus Dungeon Location
Neltharus is situated in the western part of Waking Shores. Adventurers of all skill levels can access this dungeon on Normal, Heroic, and Mythic difficulty. Additionally, Neltharus is featured in the Mythic+ rotation for Season 2, providing a greater challenge and increased rewards for daring parties.

Magmatusk
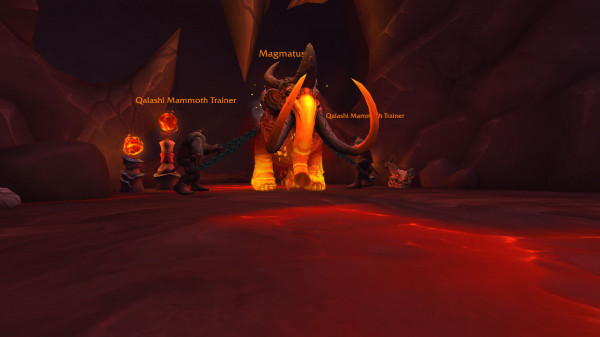
As you traverse Magmatusk, navigating treacherous terrain and facing relentless enemy onslaughts, it's crucial to stay vigilant and employ strategic tactics to overcome various challenges from trash mobs. Here are essential tips and tricks:
Celador Qalashi:
Frontal Cast - Volcanic Guard: Watch out for this slow but powerful frontal cast. Though it has a delayed trigger, it deals substantial damage. Ensure party members steer clear to avoid unnecessary damage.
Tank Awareness - Flame Gash: Tanks, be mindful of Flame Gash, dealing moderate damage. Mitigate its impact with defensive cooldowns and maintain threat control.
Aplastaspinazos Qalashis:
Moderate Damage and Knockback - Brutal Strike: Tanks, prepare for encounters with Aplastaspinazos Qalashis. They deliver a punch with Brutal Strike, causing moderate damage and knocking you back. Position strategically to minimize disruption to the group.
Elemental de Minerals:
Tank Focus - Magma Core: These creatures primarily target tanks, but beware of Taumaturga Qalashis casting on them. It transforms them into Elemental de Magmas, pulsating a ramping damage-over-time effect, posing a significant threat to your team's health.
Taumaturga Qalashi:
Interrupt Priority - Magma Core: Swiftly interrupt Taumaturga Qalashi's Magma Core cast to prevent Molten Elemental spawns. Unchecked, these creatures overwhelm your group and cause catastrophic damage. Additionally, watch for Conflagration of Magma, targeting a party member and dealing unavoidable damage. While it can't be interrupted, crowd control can mitigate its impact.
Desvalijador Qalashi:
Environmental Hazard - Explosive Brew: Stay alert for Explosive Brew casts from Desvalijador Qalashi, manifesting as orange swirls on the ground. Maneuver swiftly to avoid unnecessary damage.
Magmatusk Tips and Strategy
All Roles:
- Magma Tentacle: This serves as the primary mechanic of the fight. The longer the encounter, the more tentacles the boss spawns (one for each time he reaches 100 energy). This amplifies other mechanics, emphasizing the need for effective management.
- Magma Release: Be aware of the ground swirls that spawn puddles of lava. Holding the boss in the lava amplifies his damage output by 50%.
- Lava Spray: This ability targets a random player with a wide cone attack. Stay alert and be prepared to dodge the cone to mitigate damage.
- Scorching Charge: The boss occasionally charges towards a wall. Tanks should focus on positioning to keep Magmatusk out of lava, and the entire group should prepare for the ensuing Lava Waves spawned by each tentacle.
Tank: Pay close attention to boss positioning. Keep Magmatusk out of lava to prevent the damage increase and away from walls to allow the group time to prepare for the charge and dodge the cone attacks.
Healer - Magma Eruption: This is the primary healer mechanic. As the fight progresses, the damage-over-time (DoT) effect from this spell intensifies with each magma tentacle. Healers should plan and time their cooldowns accordingly to manage increasing damage.
DPS - Positioning: Stand between the boss and a wall close to him to reduce the distance he charges, maximizing your uptime and minimizing the overall duration of the fight.
Chargath, Bane of Scales
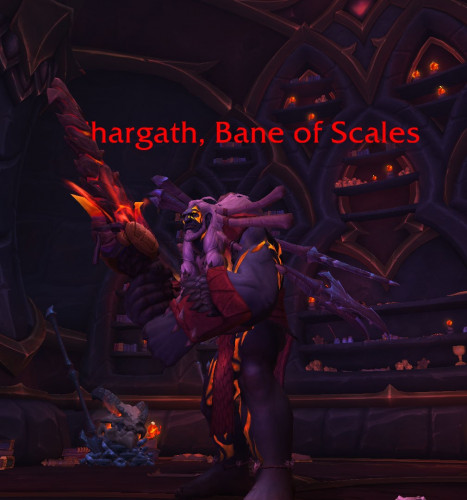
As you progress through Chargath, Bane of Scales, it's crucial to keep the following key tips in mind to overcome various trash encounters:
Domesticated Phoenix:
Interrupt - Ember Reach: Swiftly interrupt Ember Reach from Domesticated Phoenix to prevent damage to a random party member. Multiple simultaneous casts can pose a significant threat, potentially leading to casualties.
Qalashi Hunter:
- Ambush - Audacious Ambush: Be prepared for Audacious Ambush throughout the encounter. This ability leaves a bleed on a random party member.
- Swirl Placement - Binding Lance: Watch out for Binding Lance. Standing in the swirl when the projectile lands results in a stun. Your party needs to eliminate the spear to release the affected member.
Qalashi Recruit:
- Deadly Frontal Ability - Magma Fist: Dodge the clearly telegraphed cone in front of Qalashi Recruit during Magma Fist. Avoid the area until the cast is complete. Classes with a soothe ability can dispel their 50% haste increase, Incitement.
Bone Caretaker Qalashis:
- Archer Mobs - Bone Throw: Be cautious of Bone Caretaker Qalashis, stationary archer mobs that cast Bone Throw on random party members, inflicting decent damage.
Overseer Lahar:
- Interruptible - Burning Roar: Interrupt Burning Roar to prevent damage and knockback to anyone within the casting circle.
- Tank Damage - Infused Magma: Stay vigilant for Infused Magma, which deals substantial tank damage. Healers must promptly dispel the resulting damage-over-time effect.
- Avoidable Ground Effects - Eruptive Slam: When Overseer Lahar uses Eruptive Slam, the ground erupts into swirls. Tanks should reposition to avoid these, and the entire party must dodge them to prevent unnecessary damage.
Chargath Tips and Strategy
All Roles:
- Toppling Spear: This is the main mechanic of the fight. The boss targets 3 players, chaining them to the floor, slowing them by 40%, and creating a puddle of lava. Players should step away from the chaining spear, creating a tripwire for the tank to kite the boss through. After the boss trips three times, he becomes stunned and takes increased damage.
- Fiery Focus: This ability causes the boss to fixate on the tank, swinging wildly and spawning lava pools randomly. Tanks must kite the boss through chains created by other players from the Toppling Spear to stop the fixate. Each chain the boss runs through applies a stacking DoT to the group. Avoid getting too close to the boss when the tank is kiting.
- Magma Wave: Causes lava waves to spawn from the boss in a random direction.
Tank - Fiery Focus: As the tank, be prepared for the boss fixating on you and swinging wildly. Kite the boss through chains created by other players to stop the fixate. Be mindful not to stack the DoT on the group by running through too many chains.
Healer - Dragon Strike: This ability deals damage to a random party member and leaves a bleed. Pay attention to the bleeding target and be ready to provide healing.
- Fiery Focus: During the fixate phase, when the boss swings wildly, be prepared to heal extensively. Focus on healing the tank and melee group, as well as the entire party during this intense phase.
DPS: Try to maximize the length of your chain by moving away from the grounding spear. This assists the tank in removing the chains and keeps you out of melee range during boss cleaves. Coordination in creating effective tripwires is crucial for the success of the encounter.
Forgemaster Gorek
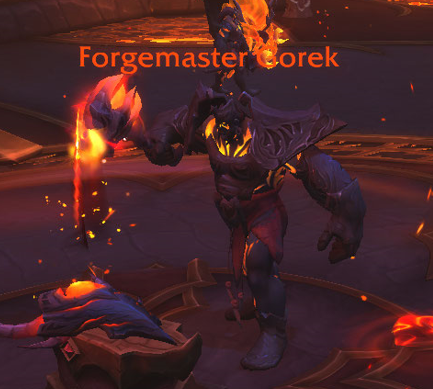
As you face Forgemaster Gorek and navigate the challenges presented by the accompanying trash mobs, here are crucial tips to keep in mind:
Portalava Qalashi:
- Lava Throw: Watch out for this cast, which places a swirl on the floor. Dodge it to avoid damage and the creation of a lingering puddle of lava. Lavabearers also leave similar lava puddles as they move.
Lava flare:
- Melt: Kick this cast to prevent damage to a random party member.
3.Iron TorchQalashi:
- Combustion Mote: Prioritize kicking this cast, as it leaves a significant DoT on a random target. The DoT explodes after fading if not dispelled. Additionally, sidestep the frontal cast, Scorching Breath.
4. Bone splitter Qalashi:
- Bone Marrow Puncture: Be cautious of this charging cast that deals a decent amount of damage.
- Dragonbone Axe: Watch out for this cast, as it leaves a massive bleed on a random target.
Iron Torch Commander:
- Scorching Volley: Spread out to avoid cleaving each other with the circles during this cast.
- Incandescent Barrage: Dodge the swirls on the floor spawned by this cast.
Blacksmith Qalashi:
- Forge Stomp: Interrupts any ongoing casts. Tanks, be wary of Resonating Smash, a hard-hitting ability that leaves a DoT.
Monstruosidad Forjada:
- Forged Fury: These mobs have an aura dealing pulsing damage to your party every two seconds. Healers, be prepared to address the increased damage.
Additionally, players with the Cooking profession can find a useful item, Qalashi Stew, in this area. Consuming it will heal you and grant a 65% movement speed bonus for 50 seconds.
Forgemaster Gorek Tips and Strategy
All Roles:
- Forge Power: This is the boss's main mechanic. When he returns to his anvil and hammers, he deals groupwide damage. After crafting, he throws an Égida Llameante at a random player, creating a large X of orange swirls that must be dodged. The Aegis then bounces to two additional players, spawning two more sets of swirls.
- Forgestorm: Causes swirls to spawn randomly around the room that all players should dodge.
Tank - Burning Strikes: This is the tank combo, knocking you back and leaping on you, dealing significant damage. Mitigate this damage as much as possible.
Healer - Flaming Hammer: The main healer mechanic during Forge Power. Be prepared for intense healing during this phase and dodge the circles that appear afterward.
DPS: Stand in the same axes as your teammates targeted by the hammer toss. This ensures that the dangerous cross that spawns on you won't have to be dodged by anyone else.
Warlord Sargha

As you face the challenges presented by Warlord Sargha and the associated trash mobs, here are important tips and strategies:
Tanks: Be cautious of the Dentellada Hirviente from Alardiente Alpha, as it inflicts a substantial amount of damage.
All Players: Beware of Tempestad Incandescente, which deals party-wide damage and causes a pushback effect. The damage can be mitigated by exiting the line of sight of the bird, but the pushback will persist.
Lavamántico Qalashis: These mobs will continuously cast Lava Discharge at your tank if not interrupted.
- Occasionally, they will shield themselves with Magma Barrier, rendering them immune to interrupts. When the barrier is destroyed, it deals damage to the entire party.
- While the shield is active, they will channel Molten Army, summoning Príncipe de Lavas that focus on attacking your tank.
Warlord Sargha Tips and Strategy
All Roles:
- Magma Shield: This is the main mechanic of the fight. Periodically, the boss will shield herself, and players must break the shield by collecting different items from piles of gold around the room. These items deal significant damage to the shield. While the shield holds, fire is thrown around the room, requiring players to dodge it along with the pulsing groupwide damage. When the shield breaks, it deals damage to the group and increases the boss's vulnerability by 100% for a short duration.
- Burning Ember: Causes an Angry Ember to spawn, leaving a large puddle of lava where it appears. These Embers fixate on a random target and walk towards them, dropping additional puddles when moving over areas without lava. CC these mobs to conserve space in the room, as they disappear once their fixate ends.
- Dragon's Hearth: A randomly aimed frontal cone that players must step out of.
Healer:
- Be prepared to heal extensively during Magma Shield, as the pulsing damage is quite high.
- Molten Gold: A DoT randomly applied to a party member, dealing heavy damage.
DPS: Try not to pick up too many piles of gold in a row if your group lacks a curse dispel, as the ticking damage will stack uncontrollably.