[Lost Ark] Valtan (Normal Mode) Guide

Lost Ark: Valtan (Normal Mode) Guide

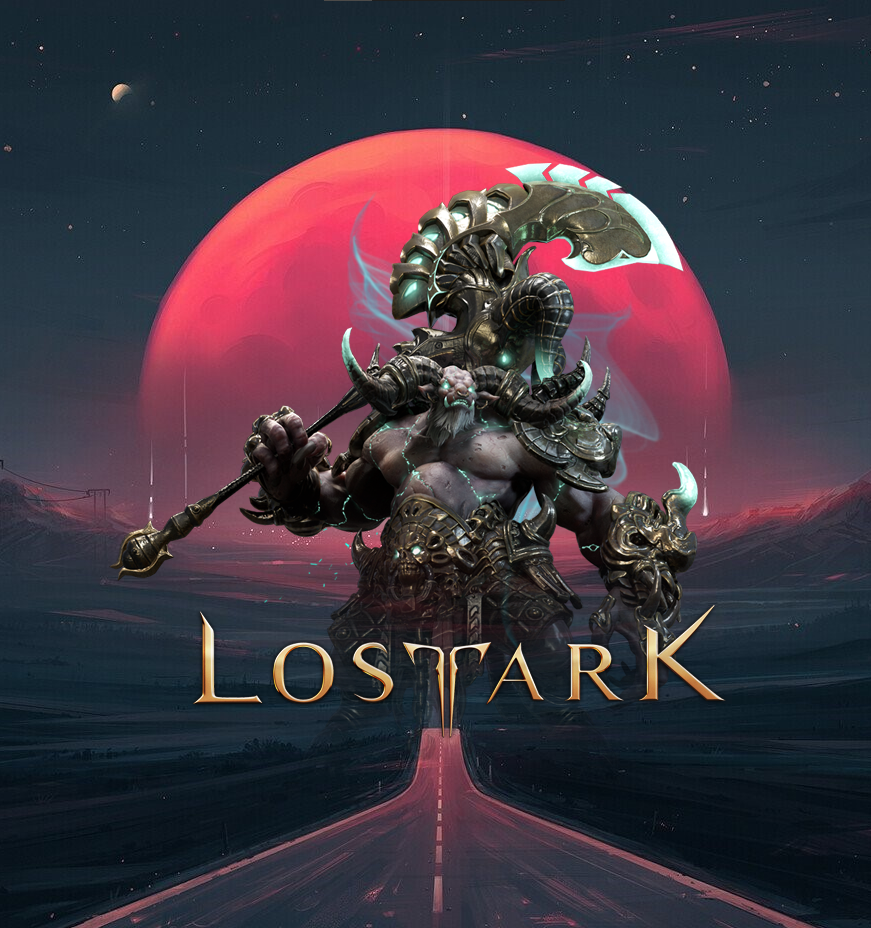
After being critically injured at the Wall of Glory in Luterra, Legion Commander Valtan was betrayed by Kharmine and his thirst for power. Kharmine absorbed Valtan’s body, tearing his soul to pieces.
Time passed, Valtan’s shredded soul wandering endlessly through the abyss.
Requiring reinforcements for the invasion of Arkesia, Plague Legion Commander Akkan used his powers to stitch Valtan's soul back together. Akkan placed it in a new patchwork body— a physical representation of Valtan's tattered soul. Valtan feels endless anguish. Tortured by memories of being torn into pieces and constant pain having a new patchwork body, the Lord of the Demon Beasts will not stop until he destroys everything in sight— inflicting the same crushing agony on all those in his path.
Welcome to your initial encounter with the Legion Raid in Lost Ark, featuring Valtan, the Demon Beast Commander. Legion Raids offer an experience unlike any you've seen before, so we'll guide you through the fundamentals.
Does VIRTGOLD offer Lost Ark Services for me?
Yes! Regardless of what you're looking for, we'd be happy to help you accomplish whatever goals you've set in any of our available games. Whether you're a seasoned adventurer or just starting out, our personalized approach ensures that you'll receive the most affordable prices and most skilled workers to come out on top in Lost Ark. So why wait? Take on the grind of your favorite games with confidence, thanks to VIRTGOLD. Have more questions? Feel free to speak with one of our round-the-clock live chat specialists!

With our 100% Transaction Protection guarantee for both buyers and sellers, you can trust that your transactions will be secure. Our live support system, available 24/7, ensures that you can reach out to us at any time for assistance. We take pride in being recognized as the best in the industry, and our primary goal is to help you achieve your in-game objectives without wasting your valuable time on tedious tasks.
Valtan Gate 1 Introduction
Legion Raids do not permit any resurrections, which is different from Argos, where a team can resurrect members four times during the battle. As a result, if you perish, your team must proceed without you, which can render the fight more challenging and, in certain situations, unfeasible.
In Lost Ark, Legion Raids bring forth an exciting feature known as the Gate system. As you conquer Valtan Gate 1, you unlock the remarkable ability to temporarily halt the raid progress and pick up right where you left off, starting from Gate 2. This becomes a vital strategy when encountering raids that extend across multiple gates, granting you the flexibility to manage your time and progress through the challenges at your own convenience. Embrace the power of the Gate system and conquer even the most daunting of raids on your own terms!.
Clearing a gate allows you and your party to step out, change setups or even bring other players into the second gate. Changing difficulties is also an option. The highest rewards are earned in hard.
Recommended items for all raids
Preparation is key, just like bringing the right items. While this encounter is not too mechanically demanding, you want to bring the right items to help yourself and your party

Overview of the first part
Prepare for an exhilarating test of skill in Lost Ark's Legion Raids, where the mighty Dark Mountain Predator, a formidable purple wolf, awaits you in the first gate. This cunning adversary will constantly transform into red and blue variations during the encounter, challenging you to engage with both simultaneously at certain intervals. As you navigate this epic battle, keep a keen eye on the two main mechanics that drive this fight, which we'll explore in-depth below. Get ready to unravel the secrets of this thrilling raid and emerge victorious against the enigmatic Dark Mountain Predator!
Step into the heart-pounding fray as you confront the Dark Mountain Predator, the fierce purple wolf boasting an imposing 50 HP bars at the onset of the battle. Brace yourself for the first transition, triggered around 46-45 bars (depending on your damage output), where the crimson-hued counterpart takes the stage, showcasing a slightly altered moveset. This fierce duel takes an unpredictable turn based on your team's overall DPS, shaping the appearance of the second wolf. Keep your wits about you and ensure that the wolves remain separated to avoid a damaging reduction buff they might receive.
The true challenge awaits at 30 and 15 HP bars when you encounter the second main mechanic, a combination of a stagger check and an orb pickup. Success in this crucial moment will lead to a shift in the battle dynamics as the red and blue versions emerge with renewed vigor and introduce a fresh array of attacks. Push through the intense struggle and, following the second successful stagger mechanic, face the re-emergence of the purple version, now masterfully combining all its devastating moves.
With determination and precise teamwork, deplete the remaining HP bars to clear Gate 1, triumphing over the enigmatic Dark Mountain Predator. Prepare to embrace the rewards of your hard-fought victory, and gear up for the challenges that lie ahead in this gripping journey through the Legion Raids of Lost Ark.
Key Mechanics
Transition between Purple, Red, and Blue Versions: The first critical mechanic revolves around the Dark Mountain Predator's transformations. Initially, you'll face the purple version with a daunting 50 HP bars. As the battle progresses and you chip away at its health, the first transition takes place around 46-45 bars. During this shift, the predator morphs into the red version, featuring a slightly different set of moves. The appearance of the second wolf, either red or blue, will vary based on your team's overall DPS and performance.
Remember, teamwork and adaptability are key to mastering these mechanics, as your raid experience may differ from one run to another. Stay vigilant, communicate effectively with your team, and brace yourselves for a thrilling adventure as you face the enigmatic Dark Mountain Predator in Lost Ark's Legion Raids!

Prepare for the red wolf's relentless onslaught as it inflicts dangerous bleed stacks with its attacks. Ensure that your cleanse is readily available or bring battle items to counter the bleeding, as the damage can escalate rapidly if left unchecked.
Once the blue wolf joins the fray, a crucial next step unfolds. Four players will be granted a buff, allowing them to focus their attacks on the blue wolf, while the other four continue to target the red one. Keep a close eye on your buff bar, as this division of targets is party-independent. To prevent a damaging reduction buff, it's vital to keep the two wolves separated. Many raid groups adopt a common practice of positioning one party at the top and the other at the bottom. Alternatively, dividing into left and right groups can be equally effective. Additionally, two players will be marked with distinct crosshairs above their heads, one blue and the other red. The bosses will specifically target these marked players, granting them the opportunity to control the boss's movement strategically.
Mastering this coordinated approach is crucial to overcoming the red and blue wolves' combined might. Work closely with your team, communicate effectively, and unleash your prowess in handling these mechanics. United in purpose, your raid will stand strong against the relentless challenges of the Dark Mountain Predator and pave the way to conquer Gate 1 in Lost Ark's Legion Raids!

Stagger Check and Orb Pickup: At 30 and 15 HP bars, you'll encounter the second crucial mechanic. This phase involves a combination of a stagger check and an orb pickup. Success in executing this mechanic correctly will significantly impact the flow of the battle. Following a successful stagger, the red and blue versions will re-emerge with renewed energy, introducing fresh sets of attacks to keep your raid on its toes.
As the Red Wolf teleports to the center, it begins to gather energy, triggering a crucial stagger check mechanic. A stagger bar will appear below the boss, surrounded by orbs of alternating colors - Red and Blue. Successfully passing this stagger check and handling the orb mechanics are essential to avoid wiping the raid.
The orbs are automatically drawn towards the nearest player, and each orb taken by a player increases the boss's vulnerability to stagger. However, a word of caution: taking two orbs of the same color in a row will result in a wipe. Moreover, players who take an orb will receive a debuff that leads to their demise if they attempt to take another orb. And if any orb hits the boss, it will also trigger a wipe.

Here are two standard strategies to tackle this mechanic:
- Standard Strategy: Before entering the fight, assign positions to each player to ensure they take an orb in a specific order. To prevent wiping, follow a recommended clockwise pattern for taking orbs. After acquiring an orb, players must swiftly run to the boss, throw a Whirlwind Grenade, and execute all stagger skills in rapid succession. Timing is critical, and teamwork is essential to execute this strategy successfully.
- Cheese Strategy: In the cheese strategy, seven players stack at the southmost corner of the map, while the party leader positions themselves just south of the boss. The party leader casts Wei (CTRL+X) and then runs north, causing all the orbs to follow them. Meanwhile, the rest of the team rushes up to the boss and finishes the remaining stagger quickly.
Choose the strategy that best suits your raid group's capabilities and coordination. By mastering the orb mechanics and staggering the Red Wolf effectively, you'll pave the way for a triumphant victory over this formidable foe in Lost Ark's Legion Raids
When the Blue Wolf summons the Red Wolf at X24, the roles are reversed, making the Red Wolf the invader this time. As a result, the mechanics related to the Yellow Buff are also reversed.
During the X15 mechanic, which is the same as the X30 mechanic, players must handle the orb stagger once again. The orbs will appear, and players must be cautious not to take two orbs of the same color in a row to prevent a wipe.
Here's a summary of what to do for each scenario:
X24 - SUMMON RED WOLF:
Blue Wolf summons Red Wolf.
The Red Wolf becomes the invader, and the mechanics of the Yellow Buff are reversed.
Players with the Yellow Buff should focus their damage on the Red Wolf, not the Blue Wolf.
X15 - 2ND ORB STAGGER:
Similar to the X30 mechanic, handle the orb stagger at X15.
Orbs appear, and players must avoid taking two orbs of the same color consecutively to prevent wiping the raid.
Coordinate effectively with your team to execute these mechanics flawlessly, and adapt your strategy as you progress through the encounter. Triumph over the challenges presented by the Red and Blue Wolves, and secure your path to success in the epic Legion Raids of Lost Ark!
As the battle progresses, the boss will reach a point, typically after X10, where it charges up, jumps to a player, and inflicts fear upon them. While the mechanic seems straightforward, failing the stagger check can lead to a potential wipe, making it a critical moment in the encounter.
Finally we got to the last boss mechanic reaching x10
Here's what you need to do during this phase:
Fear and Stagger Check:
The boss will always fear and jump to the farthest player from its current position. When the boss appears behind the targeted player, it initiates a stagger check.
Executing the Stagger:
Players must quickly react and run behind the boss to execute the stagger. Successfully staggering the boss will prevent a massive damage hit to everyone positioned in front of it. Failing the stagger check, however, can lead to significant damage and potential party wipe. This makes precise timing and coordination crucial to survival.
Fast Avoidance Technique:
If the farthest player is fast enough, they can avoid the fear effect altogether by using their Awakening skill. This technique requires quick reflexes but can be a game-changer if executed successfully.
Mastering this fear and stagger check mechanic is vital to securing victory against the Dark Mountain Predator in Lost Ark's Legion Raids. Keep your focus sharp, communicate effectively with your team, and prepare for the adrenaline-pumping moments as you delve deeper into the challenges that await in this epic raid!
Sidereal Usage
Skillfully performing the mechanics will rapidly increase its power, providing a potent advantage in battle. During this epic encounter, you'll receive crucial assistance from three mighty Sidereals:
King Thiarain (Ctrl+Z): Witness the might of King Thiarain as he unleashes massive damage and destruction upon your foes. His devastating attacks will strike fear into the hearts of your enemies.
Wei (Ctrl+X): Harness the incredible power of Wei, dealing staggering blows that disrupt enemy actions and delivering formidable damage. Wei's prowess is especially valuable during the Orb Staggers, crucial moments that demand precision and skill.
Balthorr (Ctrl+C): Seek protection within Balthorr's circle, where a defensive buff lasts for 30 seconds, shielding you and your allies from certain wipe mechanics. Embrace this defensive boon to withstand the deadliest of assaults.
Optimize your strategy by utilizing Wei's staggering abilities during the Orb Staggers. By doing so, you'll tip the scales in your favor, increasing your chances of triumph against the Dark Mountain Predator.

Valtan Gate 2 Introduction
Prepare to confront the Demon Beast King himself in an intense battle divided into three stages:
1. Destruction Stage: Shatter Valtan's armor to unleash the full force of your attacks. Make every strike count as you strive to break through his defenses.
2. Normal Stage: Engage Valtan in a treacherous arena where one wrong step can lead to a perilous fall. Stay focused and agile to navigate this dangerous terrain.
3. Ghost Stage: Face a resurrected Valtan accompanied by his army of clones. Prepare to confront new abilities as Valtan adapts and evolves during this stage.
Each stage brings forth unique challenges, demanding quick thinking and adaptability from your team. To help you on this epic journey, download our free Lost Ark Overlay for a comprehensive guide, cheat sheet, and more, all available within your client. We highly recommend using it, especially if you have a second screen to access the information conveniently outside of your browser.
Get ready to embrace the ultimate test of skill and strategy as you confront Valtan, the Demon Beast King, and his ever-changing stages. Forge your path to victory and become a legend in the world of Lost Ark!
Items and Rewards

Key Mechanics
Facing the formidable Valtan in the epic Valtan Raid of Lost Ark, prepare for an intense battle divided into three stages:
1. Destruction Stage: Shatter Valtan's armor to make your attacks fully effective.
2. Normal Stage: Engage Valtan in a treacherous arena where falling off poses a danger. During this stage, utilize Balthorr (CTRL+C) to negate the wipe mechanic by casting it when Valtan reaches x130 bar, granting everyone inside the circle a 30-second defensive buff.
3. Ghost Stage: Fight a resurrected Valtan and his clones. Utilize orbs to protect against the wipe mechanic or employ Balthorr to safeguard your team.
Mechanical breakdown
X105 Cone Attack: Players avoid red slices by hiding behind pillars. The targeted player stands between two pillars for 4 seconds before dashing and hiding behind another pillar. Use Timestop if needed.
X88 and X34 Arena Breaks: Valtan jumps to one side of the arena, breaking it. Hide behind pillars until explosions occur. After cone attacks, hide behind pillars again. Watch out for Valtan's knockback attacks, as they can push you out of the broken areas.
X64 Counter Charge: Dash away from the explosive circle, then counter Valtan's attacks after his animation.
X15 Ghost Transition: Use Balthorr once Valtan enters the portal. Run together as a team or use Timestop to avoid excessive damage. Avoid red zones and prepare for the next phase.
In the Ghost Stage of the Valtan Raid, Valtan transforms into a ghost, refilling his HP bar to X40. He gains multiple stacks of armor that you must break by countering his clones. It becomes a race against time, so remain composed and focused.
Here's what you need to do during the Ghost Stage:
Beware of Valtan's Grab Move: Watch out for Valtan's opening Grab move, indicated by a crescent-shaped red zone. If he grabs you, it results in instant death. He may perform this move roughly once every 10 bars of HP. Keep in mind that Tenacity, including your Awakening, won't make you immune to the grab. A Time Stop Potion may help if used before the grab, but not after.
Remove Valtan's Defense Buffs: Successfully counter Valtan's clones to remove his defense buffs. Each successful counter eliminates one buff. Pay attention to the edges, as some clones run from side to side and can knock you out if you stand in their path.
Fill the Summon Bar: Every successful counter will fill up the Summon Bar, allowing you to call upon Thirain (CTRL+Z) to deal a finishing blow. By this time, you should have removed all defense buffs through successful counters.
Maintain vigilance, coordinate with your team, and remain persistent in breaking Valtan's armor through successful counters
Sidereal Usage
In the Valtan Raid of Lost Ark, the Sidereal Bar charges as you progress through the fight. Mastering the fight mechanics will expedite its charging. During the intense battle, you'll be supported by three powerful Sidereals:
King Thiarain (Ctrl+Z): Unleash King Thiarain's devastating power to deal massive damage and destruction to your foes. He proves especially effective during certain stages of the fight.
Wei (Ctrl+X): Harness the incredible staggering abilities of Wei, delivering an insane amount of stagger to disrupt enemy actions while dealing significant damage.
Balthorr (Ctrl+C): Utilize Balthorr's unique ability to create a defensive circle on the floor. When standing inside this circle, you and your allies gain a protective buff lasting for 30 seconds, preventing certain wipe mechanics.
Optimal Sidereal Usage:
Balthorr:
Activate Balthorr's defensive circle at x130 and x15 bars during the fight. This will prevent devastating wipe mechanics, ensuring your team's survival and momentum.
King Thiarain:
During the ghost phase, after removing the x6 defense buffs from Valtan, unleash King Thiarain's formidable power to deal massive damage and hasten Valtan's defeat.