Last Epoch - Rahyeh Boss Guide

Overview
Rahyeh, The Black Sun, stands as the formidable final boss within The Black Sun monolith, a pinnacle of Last Epoch's endgame content. Defeating Rahyeh requires mastery of several mechanics, as failure to navigate them adeptly may result in swift defeat, with abilities capable of delivering fatal blows in a mere hit or two. However, with careful observation and practice, players can overcome Rahyeh's challenges and emerge victorious.
Mechanics
Given Rahyeh's propensity for dealing Void Damage, prioritizing Void Resistance is paramount for survival in this encounter. Aim to stack Void Resistance to around the 70%-75% mark to significantly bolster your chances of enduring Rahyeh's onslaught. Investing in gear and passive skills that offer Void Resistance bonuses can prove instrumental in mitigating the boss's damage output and increasing your overall survivability. There are 4 skills with which you must be very attentive and they are the following:
1. Void Swirl: Rahyeh unleashes a large AoE attack known as Void Swirl, dealing significant damage to any players caught within its radius. While relatively easy to dodge, players should be cautious of the hitbox, as even the outer edges of the swirl can inflict damage. Quick reflexes and spatial awareness are essential for evading this attack effectively.

2. Void Rain: In this devastating AoE attack, void swirls descend from the sky, each capable of dealing substantial damage to players caught beneath them. While not as potent as the Void Swirl, Void Rain still poses a considerable threat, prompting players to prioritize dodging and survival. During this phase, focus on evading the falling void swirls and conserve resources such as potions to endure the onslaught.

3. Charge: At certain intervals, Rahyeh retreats to a corner of the arena before charging across it, leaving behind a trail of high-damage void AoE in its wake. To mitigate damage from this attack, players should stick to the sides of the arena and avoid traversing into the void-inflicted areas left by Rahyeh's charge. Maintaining awareness of the boss's positioning and movement patterns is crucial for survival during this phase.

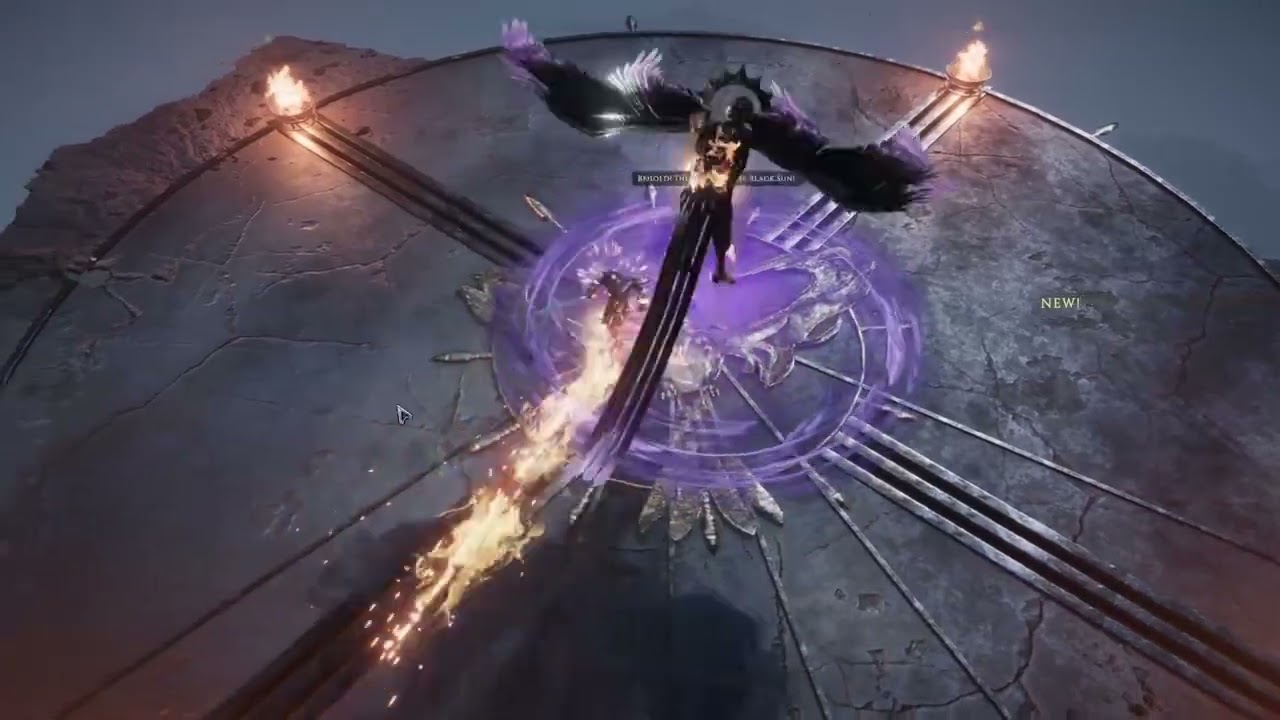
4. Pattern: Rahyeh initiates a pattern phase by positioning itself at the center of the arena. During this phase, players must navigate a circular AoE pattern on the ground by moving either clockwise or counterclockwise to avoid taking damage. This mechanic requires players to demonstrate familiarity with traditional ARPG gameplay mechanics and employ strategic movement to evade incoming attacks effectively.

Strategy
Rahyeh presents a single-phase encounter, with the pacing of the battle dictated by his utilization of Void Flares and Wave Dash. As this is a battle primarily focused on Void Damage, it's imperative to ensure your Void Resistance is maximized for optimal survivability.
The encounter follows a consistent pattern, with Rahyeh employing all of his abilities from the outset and maintaining them throughout the fight. While there are no significant difficulty spikes, victory hinges on a solid grasp of Rahyeh's mechanics. Here are some key strategies to aid in your triumph:
1. Void Flare Mastery: Void Flare poses the greatest challenge, requiring players to decipher its pattern to effectively dodge the attacks. Referencing video demonstrations or guides can provide valuable insights into navigating these flares with precision.
2. Wave Dash Awareness: The trail left behind by Wave Dash inflicts severe punishment to players caught within it. Swiftly relocate from the affected area and exercise caution before re-engaging with that section of the arena.
3. Optimal Approach to Dive Bomb and Void Blast: When confronted with Dive Bomb and Void Blast, the shortest distance to safety is often a direct approach towards Rahyeh. This minimizes the time spent within the radius of the attacks, reducing potential damage taken. Additionally, anticipate Rahyeh's tendency to combine Void Blast with Dive Bomb or execute multiple Void Blasts consecutively. Maintain awareness of Rahyeh's melee range to preemptively evade Void Blast.
4. Meteors from Void Skyfall: Although less damaging individually, the cumulative impact of multiple meteors can prove detrimental. Avoidance is key, as being stunned by a meteor can result in dire consequences. Stay vigilant and maneuver to evade incoming meteors, minimizing the risk of overlapping impacts.