Mechanical Menagerie Boss Guide in Season of Discovery

Mechanical Menagerie Boss Guide in Season of Discovery
The Mechanical Menagerie awaits as the formidable fifth boss within the depths of Gnomeregan. To emerge victorious, adventurers must navigate a battlefield teeming with a diverse array of mechanical minions, each with their unique set of abilities.
Menagerie Abilities
1. Chicken:

- Explosive egg: Unleashes a destructive explosive egg, dealing area-of-effect damage to those unfortunate enough to be in its blast radius.
- ¡Cluc!: Bolsters its own and its allies' attack speed by an impressive 50%. Brace yourselves for this enhancement at the 75%, 50%, and 25% health thresholds.
2. Squirrel:

- Gadget Barrage: Targets a player, interrupting their actions and inflicting damage.
- Gadget Fortress: Erects an area-of-effect protective zone; standing within it grants a substantial damage reduction buff to any of the four bosses. Expect this strategic move at the 75%, 50%, and 25% health milestones.
3. Sheep:

- Bare Wiring: Bestows a Thorn-like buff, causing damage to attackers. This buff can be applied to any of the four bosses, activating at the 75%, 50%, and 25% health intervals.
- Binary Bleat: Unleashes an area-of-effect spell with an 8-yard range, silencing everyone caught within its grasp for a daunting 10 seconds.
- Static Wool: Intermittently induces a stun on melee attackers, adding an extra layer of challenge for those up close and personal.
4. Whelp:

- Rocketfire Breath: Unleashes a frontal cone of fire, singeing all in its path.
- Overheat: Applies a damaging area-of-effect buff to any of the bosses, inflicting harm to everyone within 15 yards while concurrently increasing the recipient's vulnerability by 25%. Watch out for this escalation at the 75%, 50%, and 25% health thresholds.


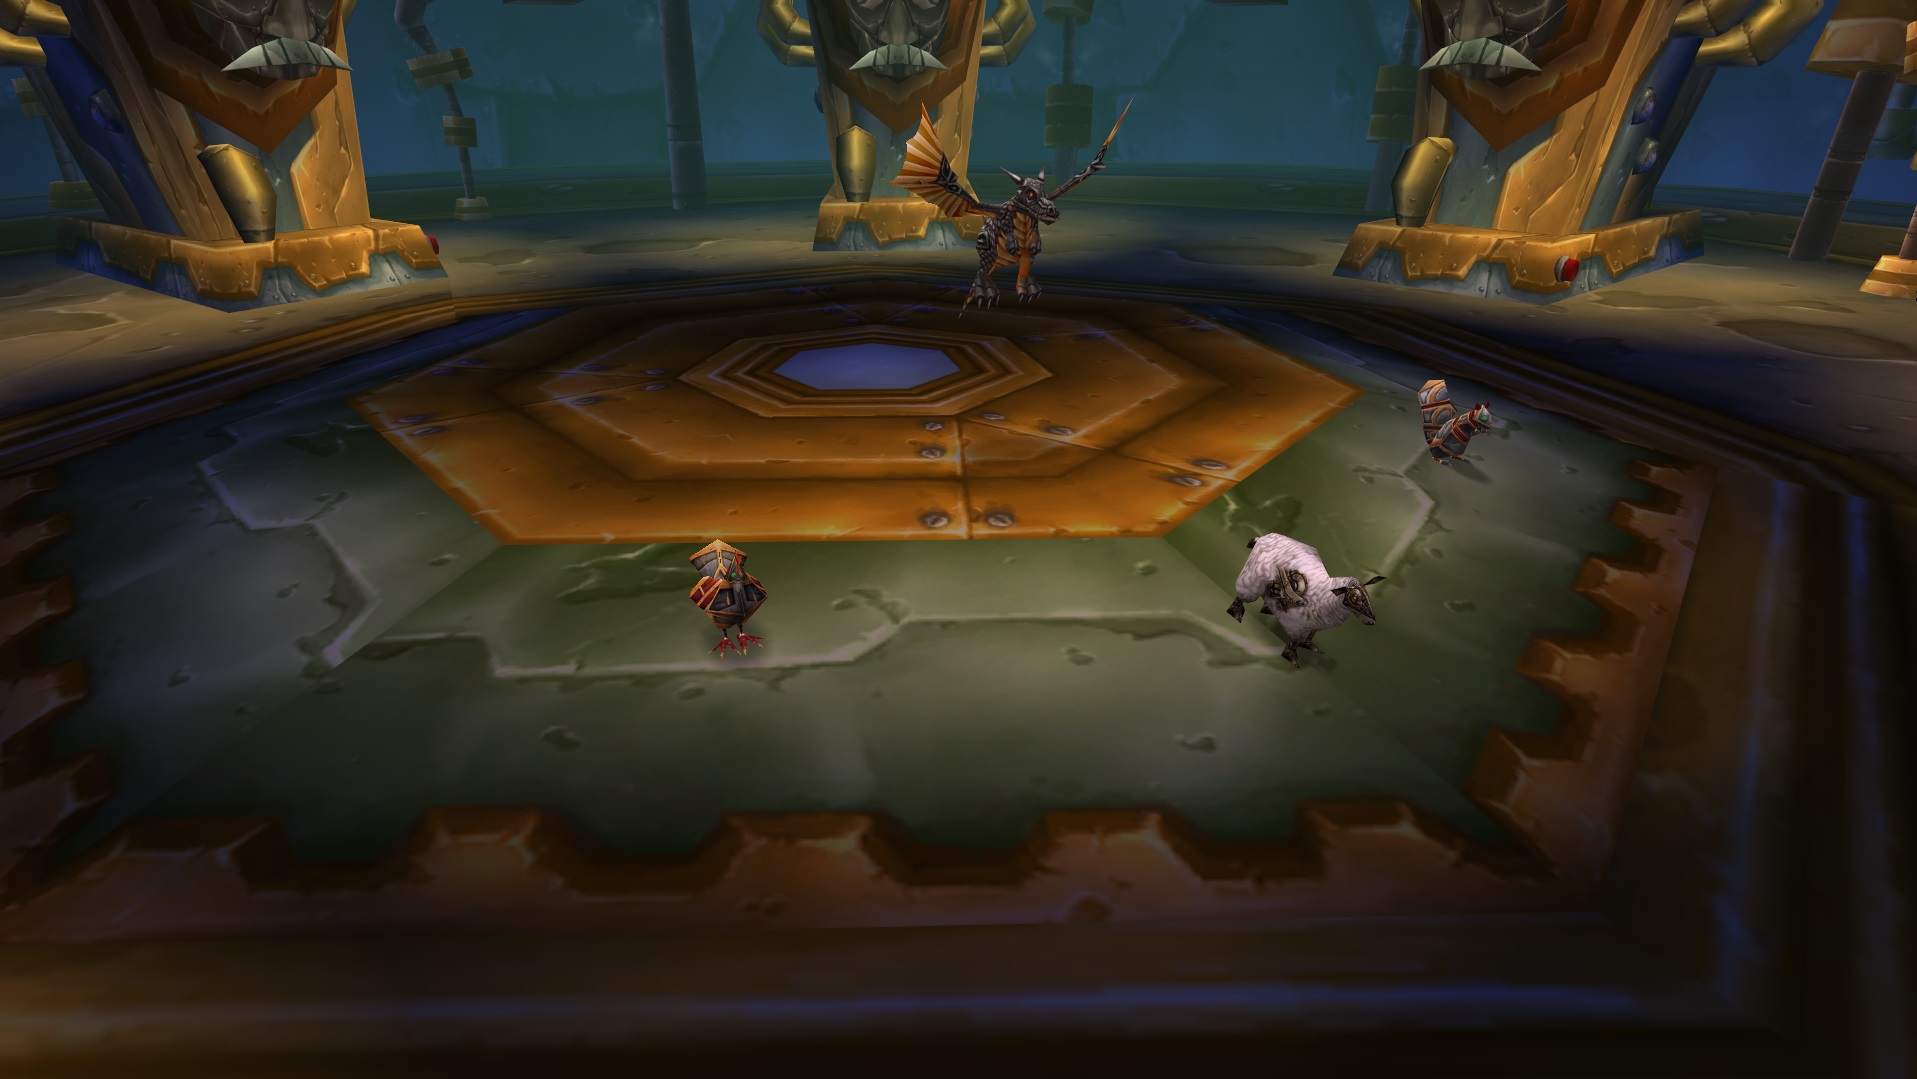
Mechanical Menagerie
The Mechanical Menagerie poses a unique challenge with its quartet of bosses – the Chicken, Squirrel, Whelp, and Sheep. Coordination and adaptability are key to success, and here's a comprehensive strategy to navigate this complex encounter:
Tank Assignment:
- Two tanks are essential for this encounter.
- Option 1: Assign one tank to the Chicken (high damage) and another to the Whelp and Squirrel to distribute damage evenly.
- Option 2: Place a tank on the Whelp to manage its abilities and have the main tank handle both the Squirrel and Chicken. Choose based on your group's composition and preferences.
Sheep Kiting:
- The Sheep targets a player and moves slowly towards them.
- Kite the Sheep away from melee and tanks, ensuring it remains at a safe distance to avoid triggering Balido binario, which silences nearby players.
Healing Composition:
- Two dedicated healers are recommended initially, with the possibility of an off-healer or a third healer for the early attempts due to heavy damage output.
Positioning:
- Ranged DPS should position themselves near the center, allowing tanks and melee to kite the bosses around the perimeter.
- This positioning optimizes everyone's uptime and facilitates handling the Chicken's explosive Eggs. Ranged DPS can either eliminate Explosive Eggs or let them despawn during the circular kiting.
Mobility and Circle Kiting:
- Continuous movement in a circular pattern helps manage Explosive Eggs and counter Gadget Fortress. This ensures that bosses are immediately pulled out of the shielded area, maintaining optimal damage output.
DPS Priority:
- Distribute damage somewhat evenly across bosses, but pay attention to the Whelp's Overheat target. Focus on the buffed target to maximize damage during its vulnerability phase.
Simultaneous Boss Elimination:
- Coordinated DPS is crucial to ensure all bosses perish simultaneously.
- If any boss survives, Self-repair is triggered, healing them for 31% of their total health. This can only be canceled by reducing all bosses to 1 HP.
Mechanical Menagerie Tips
Tips for Tanks
1. Pre-Assignment of Tanks: Clearly assign tanks to specific targets, considering gear levels. If one tank is less geared, avoid assigning them to the Chicken, and have them focus on the Whelp instead.
2. Utilize the Octagon Path: Move bosses along the octagon path to facilitate melee uptime and allow casters to remain centered, minimizing movement throughout the fight.
3. Promptly Move Out of Gadget Fortress: Ensure quick relocation of bosses out of Gadget Fortress, especially when the Squirrel boss reaches the 75%, 50%, and 25% thresholds, to prevent damage loss to the shield.
Tips for Melee
1. Avoid Sheep Stuns: Melee should steer clear of hitting the Sheep, as Static Wool can periodically stun them.
2. Watch for Stripped Wiring: Be vigilant for the Stripped Wiring buff applied by the Sheep to any of the bosses, and refrain from hitting the affected boss when the Sheep reaches the 75%, 50%, and 25% thresholds.
3. Prioritize High Cleave Uptime: Focus on maintaining high cleave uptime on the other three bosses.
4. Swap Targets with Overheat: Switch to the boss buffed with Overheat for increased single-target damage when the Whelp boss reaches the 75%, 50%, and 25% thresholds.
Tips for Ranged
1. Stay Centered in the Octagon: Ranged DPS should position themselves at the center of the octagon to maintain optimal range on all bosses, minimizing unnecessary movement.
2. Swap Targets with Sobrecalentamiento: Switch focus to the boss buffed with Overheat during the Whelp boss's 75%, 50%, and 25% thresholds.
3. Spread DOT Abilities: If you possess damage-over-time abilities, distribute them across all four targets for maximum value, as all bosses need to be defeated simultaneously.
4. Utilize Pillar Buttons: Every 30 seconds, if healing permits, click the side red buttons on the pillar designed for a Mekgineer Thermaplugg mechanic to exchange health for mana.
Tips for Healers
1. Central Positioning: Stand in the center of the octagon alongside casters to remain within range of tanks and melee, minimizing unnecessary movement.
2. Monitor ¡Cluc! Casting: Pay close attention to ¡Cluc! from the Chicken, as it signifies increased damage output, requiring healing to match.
3. Prepare for Overheat: Be ready for increased damage during the Whelp boss's 75%, 50%, and 25% thresholds when Overheat is active, and ensure some AoE healing is available if needed.
4. Utilize Pillar Buttons: Similar to DPS, every 30 seconds, if healing conditions permit, click the side red buttons on the pillar to replenish mana at the cost of health.